Do You Want To Make Successful Bone Broth?
posted on
October 23, 2020
Our family loves homemade, nutrient dense soups and stew! I make big stockpots of bone broth so I can always have jars of broth on hand. The process takes time, but it is very hands off. Most of the time is spent slowly simmering on the back of the stove or in the oven.
I start with bones from our grassfed animals to make a broth that is delicious and healing. I save all the bones from our grassfed beef and lamb and pasture/forest raised chickens and turkeys. There are a lot of bones on a beef so I store them in the freezer until I am ready.
LET ME WALK YOU THROUGH THE STEPS.
Dig out that stockpot that is in the back of your cupboard collecting dust. That is where mine has sat all summer waiting for cooler weather.

Fill it with an assortment of bones. At Harmonys Way Family Farm we package an assortment of larger and smaller bones in a four to six pound bag. Now cover them with cold water. My stockpot is quite large and holds two bags of bones.
Add the apple cider vinegar, cover and let sit for one hour.
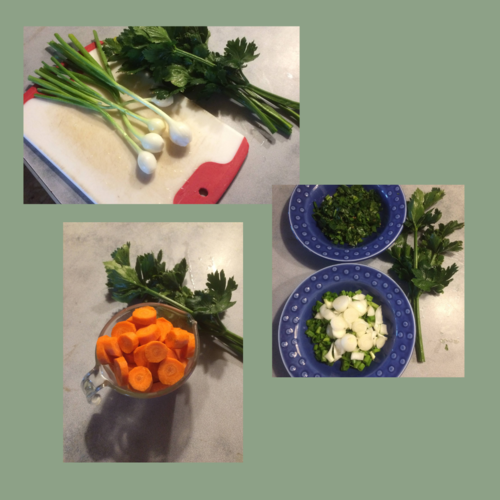
Meanwhile, chop your carrots, onions and celery into one inch pieces and set aside.
NOW YOUR READY TO GET COOKING!
Bring your stockpot of bones, water and apple cider vinegar to a boil. Reduce heat to low. After approximately ten minutes you will have to skim off the scum that is forming on top. (If you leave this on it can give your broth an off-flavour). Using a soup ladle and holding a fine mesh sieve over your stockpot simply skim this off. It will take about 15 minutes to remove most of the scum.

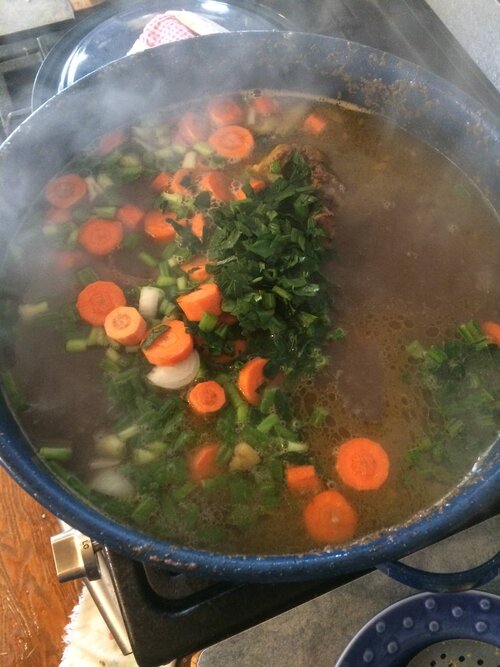
Now add your set aside veggies and seasonings.
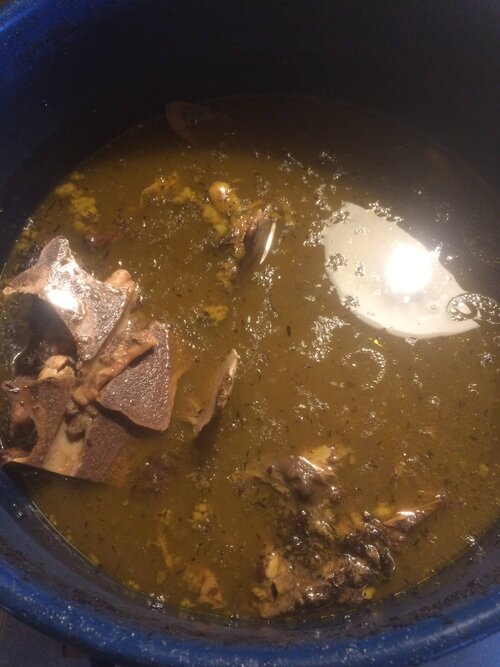
It is time to let the heat do its job. For beef bones I will put my stockpot in the oven on 250F for 48 hours checking the water level every twelve hours and topping it up as needed. Poultry and lamb bones are done on the stovetop on low for 24 hours.
LET’S FINISH OUR BROTH NOW!

You will now have a pot of rich, nutrient-dense bone broth. It is time to strain it and get it ready to use.
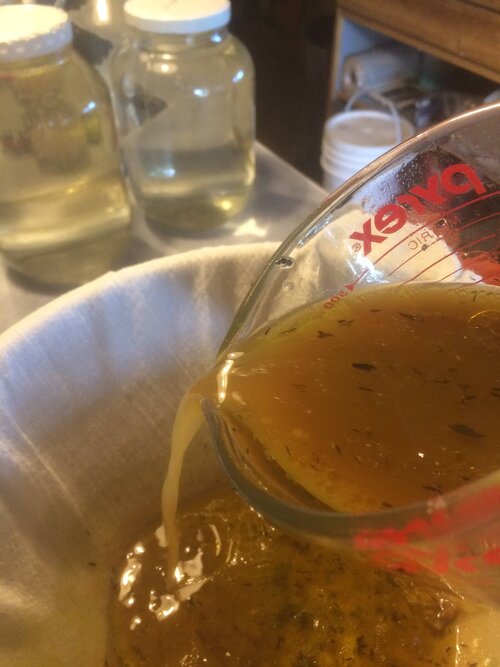
Cover another large pot with cheese cloth and carefully strain the hot broth through it. This will remove the bones and spent veggies, leaving your with a beautiful broth. Place in fridge to let fat that floats on the surface of the broth to harden. Once the fat layer is hardened I remove as much as I can and reserve it for frying and sauteeing.

I pour my finished broth into quart size canning jars and process it in the pressure canner. Now I have a convenient, easy to use bone broth that I can grab off the shelf whenever I need it. If you don’t want to drag out the pressure canner you can also freeze your broth. At my house freezer space is always at a premium so I prefer to can it.
If I know that I will be using the broth in a short time I will store it in the fridge for up to one week.
HOW TO USE YOUR BONE BROTH
I use bone broth nearly everyday as part of our gut healing, nutrition rich protocol.
We start off the day with a mug of steaming hot broth that we add a little farm fresh cream to.
Lunch might see a thick veggie soup that has broth as its base with the leftover meat from the previous nights supper added for a healthy protein source.
Then for dinner the rice or quinoa will be cooked with bone broth instead of water. Or I will add bone broth to the roast along with seasonings that will turn into a rich gravy.
WANT TO LEARN MORE ABOUT BONE BROTHS?
To learn more about the history and benefits of making and using bone broths I did a blog post called Bone Broths: The Foundation of Soul-Warming Soups.


